

Publish a Logseq Graph to GitHub Pages
[!note] Logseq is an open-source, Markdown-based knowledge management and note-taking tool that emphasizes bidirectional linking and block-level editing to facilitate non-linear, interconnected thought.
Step-by-step guide on how to publish your Logseq graph to GitHub Pages. We use the workflow provided with my Logseq Starter project.
1. Open the Repository Settings
Section titled “1. Open the Repository Settings”At the top of the repository, click Settings.

2. Navigate to the Pages Section
Section titled “2. Navigate to the Pages Section”On the left sidebar, click Pages under Code and automation.
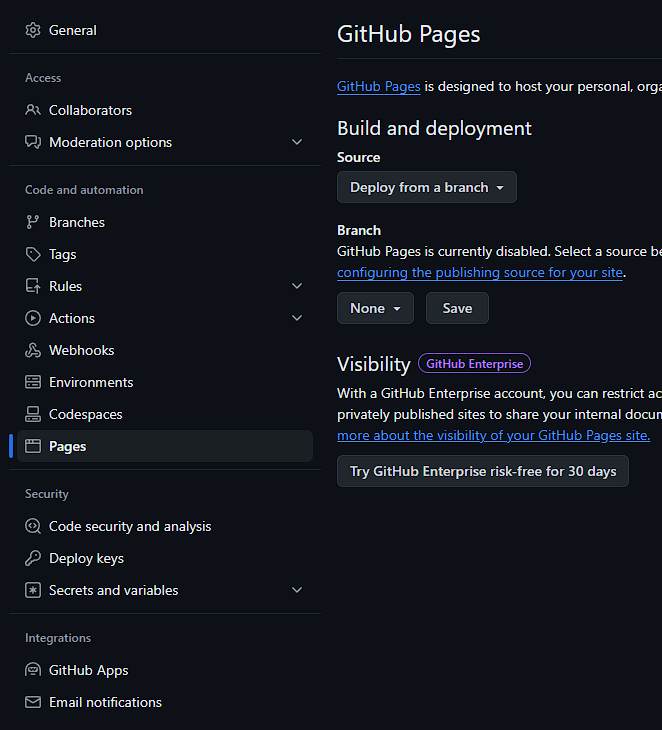
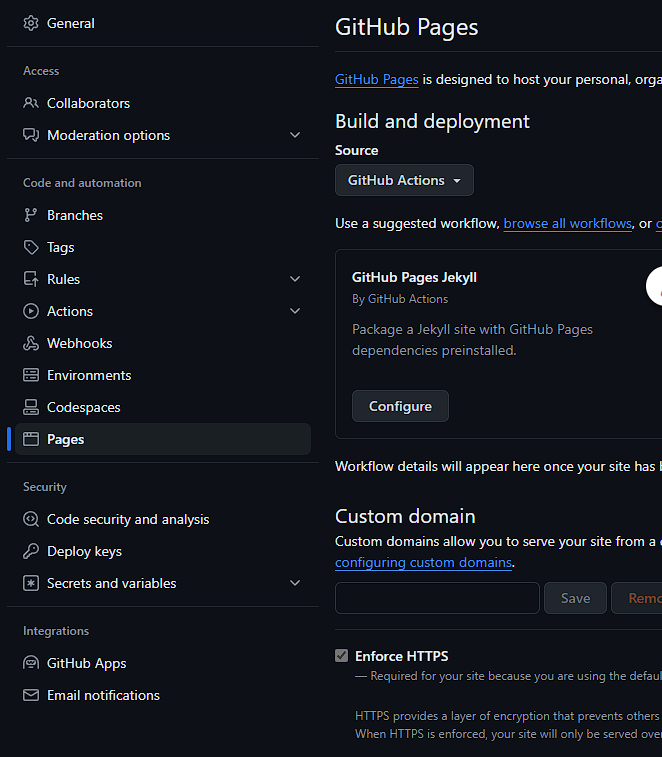
3. Configure GitHub Pages Source to GitHub Actions
Section titled “3. Configure GitHub Pages Source to GitHub Actions”Under the Build and deployment section, under Source, change it from Deploy from a branch to GitHub Actions.
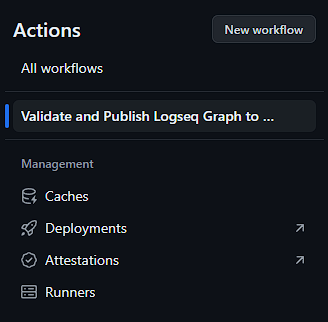
4. Navigate to the Actions Section
Section titled “4. Navigate to the Actions Section”At the top of the repository, click Actions.

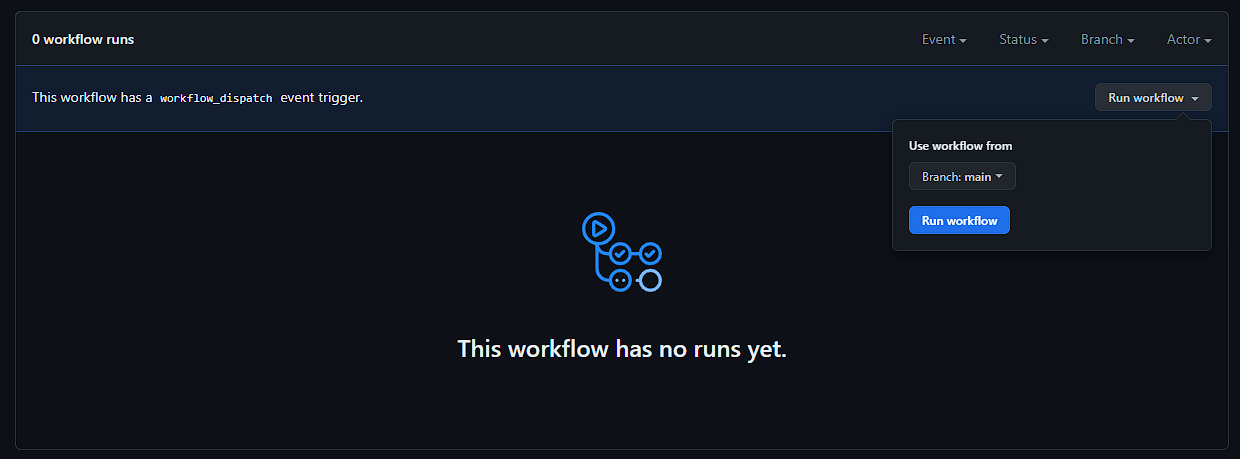
5. Run the Workflow for the First Time
Section titled “5. Run the Workflow for the First Time”On the left sidebar, click the workflow name (Validate and Publish Logseq Graph to GitHub Pages).
On the right, click Run workflow, then click on the new Run workflow (blue) button.
6. Be Patient
Section titled “6. Be Patient”Please be patient.The first time you run the workflow, it will take several minutes to complete. Subsequent runs will be faster.
Take a look at the first run for my repository:
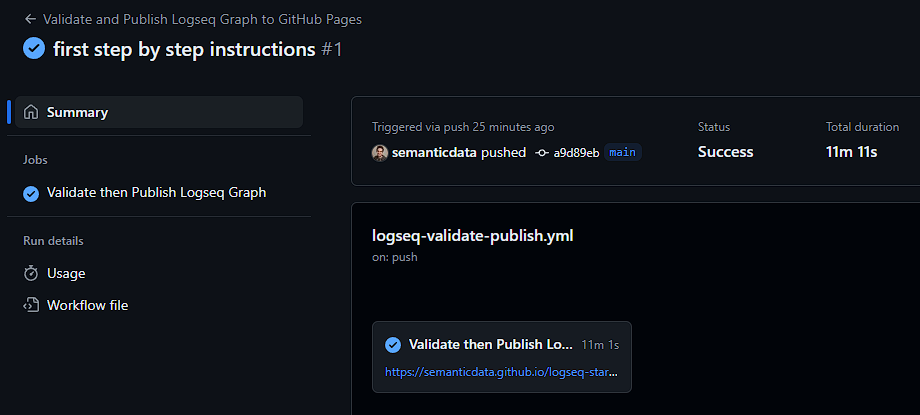
Over 11 minutes!
But as you can see in the next screenshot, the next time you run the workflow, it will be much faster.

Just over 1 minute!
7. Use Your GitHub Pages Website Url
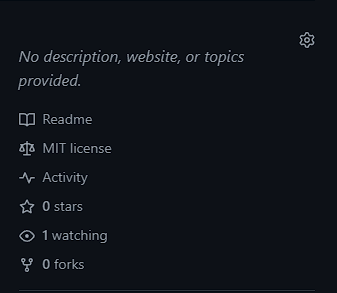
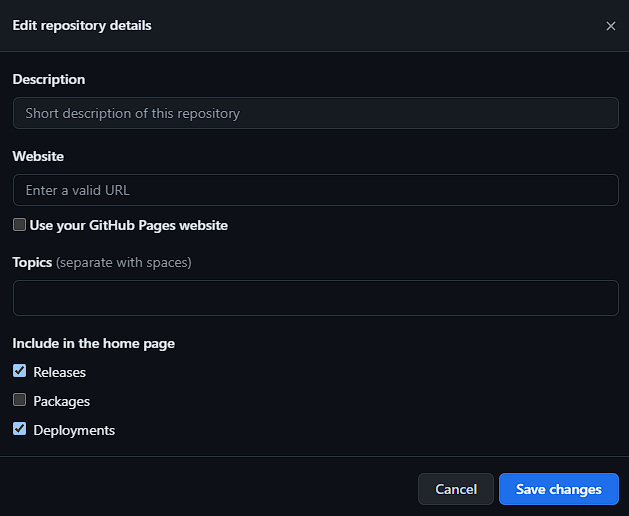
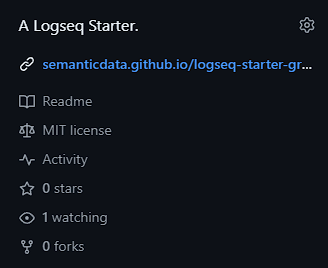
Section titled “7. Use Your GitHub Pages Website Url”Back at the repository landing page, click the ⚙ (Gear) icon to edit the repository details.
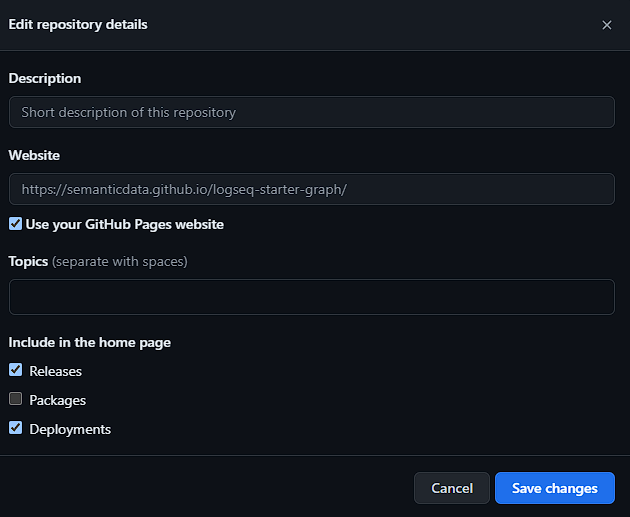
Under Website, click Use your GitHub Pages website.
It will populate the URL field with your own GitHub Pages website address. It should look like https://your-username.github.io/logseq-starter-graph/.
[!note] This is a good time to add a description to your project.
8. Save Changes
Section titled “8. Save Changes”Save your changes and take a look at your repository details.
Enjoy using the Logseq Starter Graph!